How to Install a Radiator
Adding a radiator to an existing system, replacing a failed unit, or fitting a new heated towel rail all follow the same process: wall fixing, pipe connections, valve fitting, commissioning, and system protection. This guide covers each stage for both new installations and direct replacements, for plumbers and competent DIYers.
Choosing the Right Radiator
Panel Radiators
Standard panel radiators are designated by panel and convector count:
- K1 (single panel, single convector): low output, shallow profile, good for bathrooms or tight spaces
- K2 (double panel, double convector): the most common type; best balance of output, depth, and price for most rooms
- K3 (triple panel, triple convector): maximum output in a given size; used for rooms with high heat loss
For the same physical dimensions, a K2 produces roughly twice the output of a K1, and a K3 roughly three times.
Heated Towel Rails
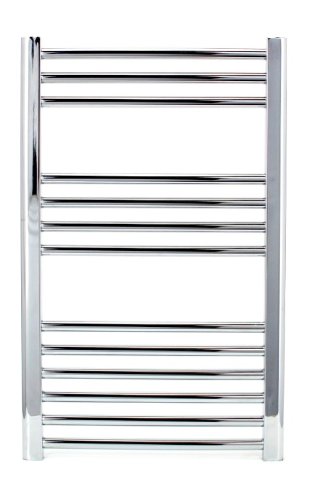
Heated towel rails connect to the central heating circuit and provide both heat output and towel drying. The Milano Chrome Heated Towel Rail is a simple, clean-design rail that fits standard 15mm flow and return connections. Note that towel rail BTU outputs are typically lower than panel radiators. In a bathroom with significant heat loss, a towel rail alone may be insufficient as the sole heat source.
Dual-fuel towel rail valves allow the rail to run on an electric element independently of the heating circuit in summer, worth specifying at the installation stage.
Sizing
A heat loss calculation gives the most accurate answer, but a practical starting point for a modern property:
- Living room (4 external walls, large windows): 100–120W/m²
- Bedroom or dining room: 70–90W/m²
- Bathroom (well-insulated, no external walls): 60–80W/m²
When in doubt, specify the next size up: an oversized radiator running at a lower temperature is more efficient than an undersized one at maximum output.
Fixing to the Wall
Radiators hang from wall brackets that are fixed first, then the radiator slides on from above. Bracket centres are specified in the product data sheet.
Fixing guidance:
- Fix into wall studs (timber frame) or masonry with appropriate fixings for the wall construction, never into plasterboard alone
- Set both brackets level using a spirit level before fixing
- Standard floor clearance: 100–150mm beneath the radiator for convective airflow
- Windowsill clearance: minimum 50mm above the radiator top
Mark the bracket positions clearly, drill, and fix both before hanging the radiator.
Pipe Connections
Flow and Return Configuration
Radiators are available in several valve connection configurations. The most common in UK domestic installations is Bottom Opposite Ends (BSOE): flow connects bottom-left or bottom-right, return at the opposite bottom corner. Confirm the configuration before ordering valve sets.
Most radiators have ½ inch BSP female tappings for the valve connections. The other two tappings are blanked with plugs.
Copper vs Plastic Pipework
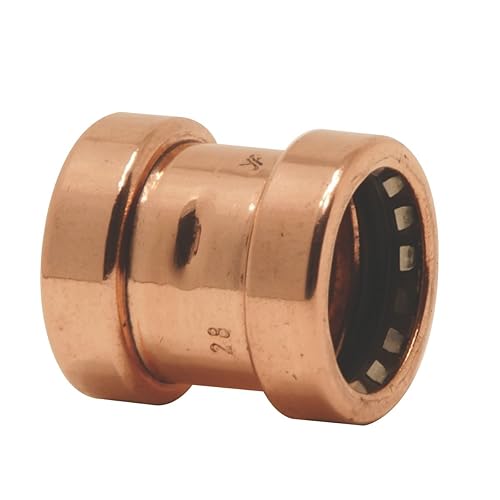
Both 15mm copper and 15mm plastic (MLCP or push-fit) are suitable for radiator connections. Copper is neater for exposed runs. Push-fit plastic (John Guest Speedfit or Yorkshire Tectite Sprint) is faster to install in floor voids and behind dry lining. For the full comparison, see Copper vs Plastic Pipe.
Cutting Into the Existing Circuit
To add a new radiator to an existing circuit without a full drain-down, isolate the section of pipework using a pipe freezing kit: this creates a temporary ice plug in the flow and return pipes, allowing you to cut in and add tee pieces without losing system water.
Without a freezing kit, drain the system to below the connection point, cut in the tees, connect the branch pipes, and refill. Always fit isolation valves on the branch pipes: a 15mm inline valve on the flow and return allows future removal of the radiator without draining the circuit.
Fitting the Valves
TRV: Thermostatic Radiator Valve
The Drayton TRV4 threads into the flow-side tapping using PTFE tape on the thread. The valve body and tail assembly connects to the 15mm pipe below. The TRV head clicks onto the valve body and senses room air temperature.
Position the TRV head where it is exposed to free room air. Do not install behind long curtains, inside a radiator enclosure, or immediately next to a door draught. It will sense incorrectly and the room will overheat or underheat.
Set the TRV to maximum (usually position 5) during initial filling and bleeding so the valve is fully open and water can circulate freely.
Lockshield Valve
The lockshield valve on the return side has a plastic cap over an adjustable spindle. It is used to balance the circuit. Leave it fully open for now: balancing is done after the full system is running.
Filling and Bleeding
After all connections are made, pressure-test the system before concealing any pipework:
- Fill the system and pressurise to 1.5 bar
- Check all new connections visually for drips
- Allow 30 minutes then re-check
- If no leaks, bleed each new radiator to remove installation air
For a full step-by-step bleeding procedure, see How to Bleed a Radiator.
Adding Inhibitor
Whenever the system has been opened and fresh water added, top up the inhibitor. Add Fernox F1 Central Heating Protector through a radiator bleed point. Dose according to the system water volume: the bottle label states the dose rate per system litre. Inhibitor prevents internal corrosion of steel radiators, copper pipework, and the boiler heat exchanger.
Balancing the System
With all radiators installed, TRVs at maximum, and the system at operating temperature:
- Measure the flow temperature and return temperature at each radiator using a clip-on thermometer
- Adjust lockshield valves to achieve an approximately even temperature drop (delta T) across all radiators, typically 10–12°C for a standard pumped system
- Radiators nearest to the pump will tend to run hotter and need their lockshields closed down slightly; radiators at the far end of the circuit may need the lockshield fully open
Proper balancing ensures every radiator reaches the correct temperature and avoids the situation where near-boiler radiators overheat while distant ones run lukewarm. It also reduces boiler cycling and improves overall system efficiency.
When to Involve a Gas Safe Engineer
All work on the gas supply, gas pipework, and gas-fired boiler must be carried out by a Gas Safe registered engineer. This includes:
- Any adjustment to the boiler flow temperature, gas pressure, or flue
- Adding a new zone and wiring the zone valve back to the boiler controls
- Commissioning a new boiler on a system with recently added radiators
The Honeywell V4043H Zone Valve can be specified and fitted by a competent plumber; the wiring back to the programmer and boiler is simple and does not require Gas Safe registration, but should be carried out carefully and tested before the system is left running.